Custom Crosshair
Custom Crosshair is a powerful advanced feature designed to enhance your aiming precision in any game. It allows you to create and customize your own crosshair overlay and optionally enable a dynamic screen magnifier, making it a perfect tool for gamers seeking an edge in accuracy and control.
Whether you're using a controller or a keyboard and mouse, this feature helps you stay on target — and now, with the built-in Magnifier, you can zoom into your aim zone for even more precise shots.
Custom Crosshair (including Magnifier) is part of reWASD membership plans and is not available for legacy license users.
How to Configure Your Crosshair
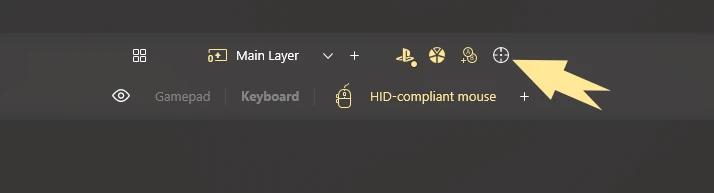
To access the Crosshair settings, open the Custom Crosshair menu from the top panel — click the icon in the header.
-
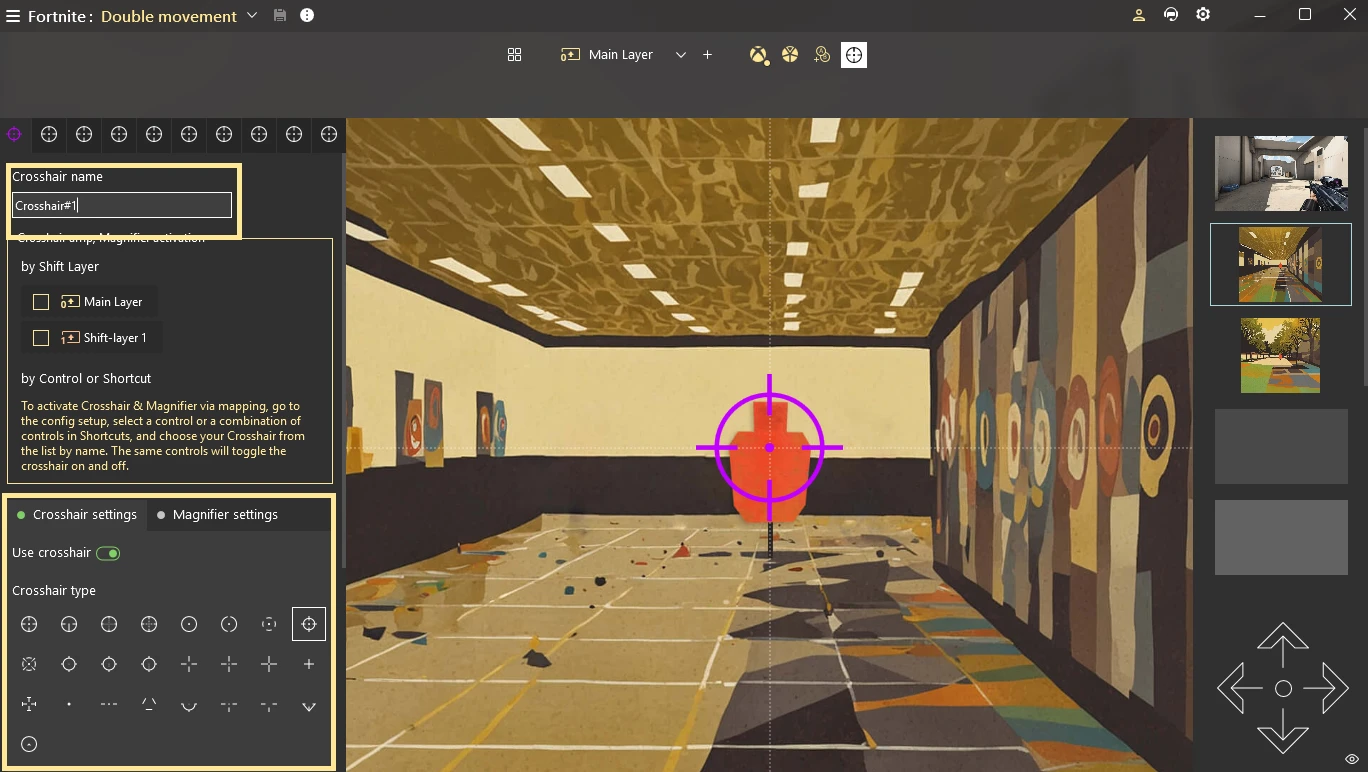
Make sure you’re in the Crosshair settings tab.
-
Toggle Use crosshair to activate the overlay.
-
Creating a New Crosshair:
-
Select a crosshair from the default set (up to 10 crosshairs available).
-
Assign a name in the Crosshair Name field.
-
-
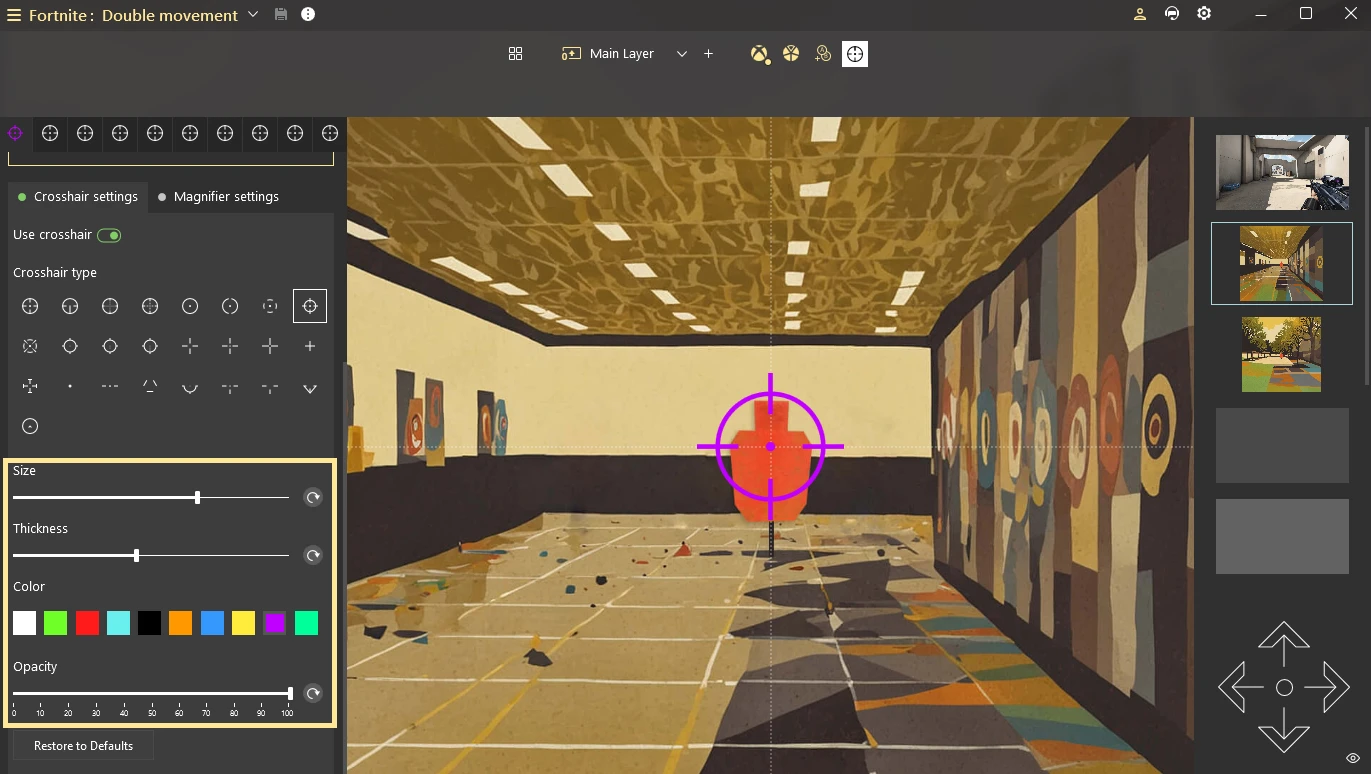
Customizing Your Crosshair Design:
-
Choose a crosshair shape from the available templates.
-
Adjust Size, Thickness, and Opacity using the sliders to match your preferences.
-
Pick a color from the palette.
-
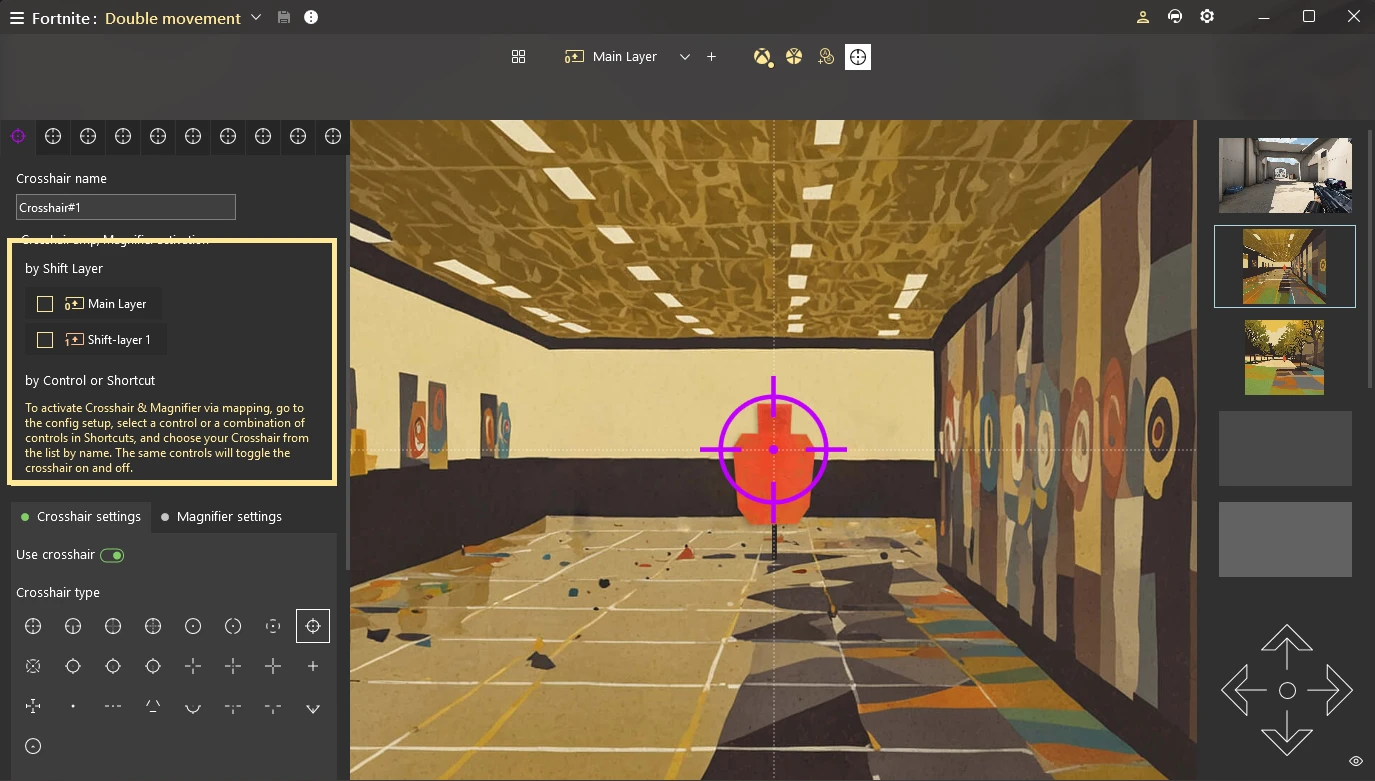
How to Activate Your Crosshair
You can activate your crosshairs by the next scenarios:
-
Using crosshair activation by Shift - select the one that will activate the crosshair when switching to a specific Shift Layer
-
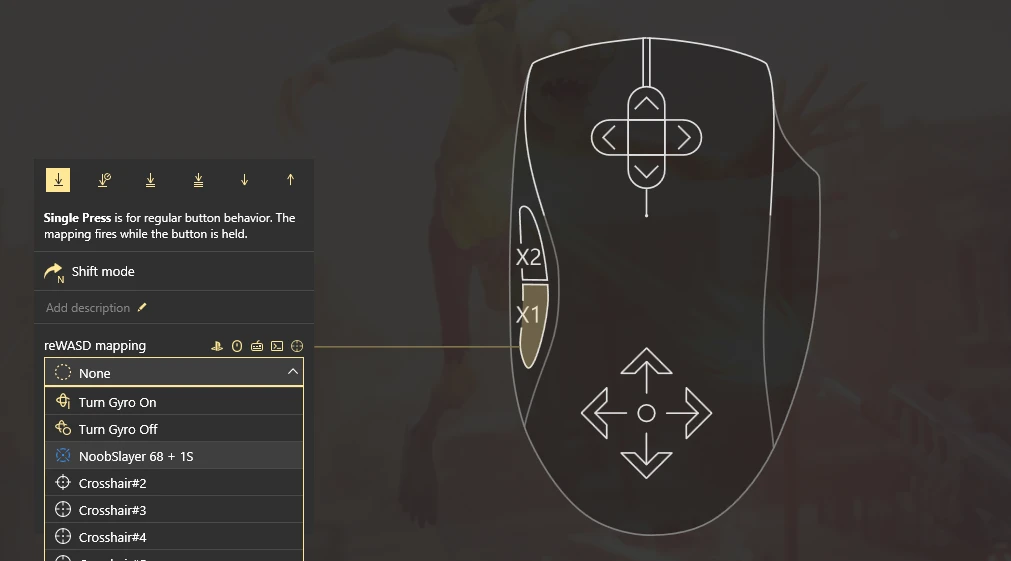
Using crosshair mapping:
- Go to your config;
- Open reWASD mappings;
- Choose the crosshair you want to activate by a specific button.
You can use both of these options at the same time.
3. Default activation. You can configure the default crosshair behavior in the preferences menu. This setting ensures that a crosshair is automatically enabled if a specific configuration is applied to a device.
How to Set Up Default Crosshair Behavior
-
Access Preferences:
-
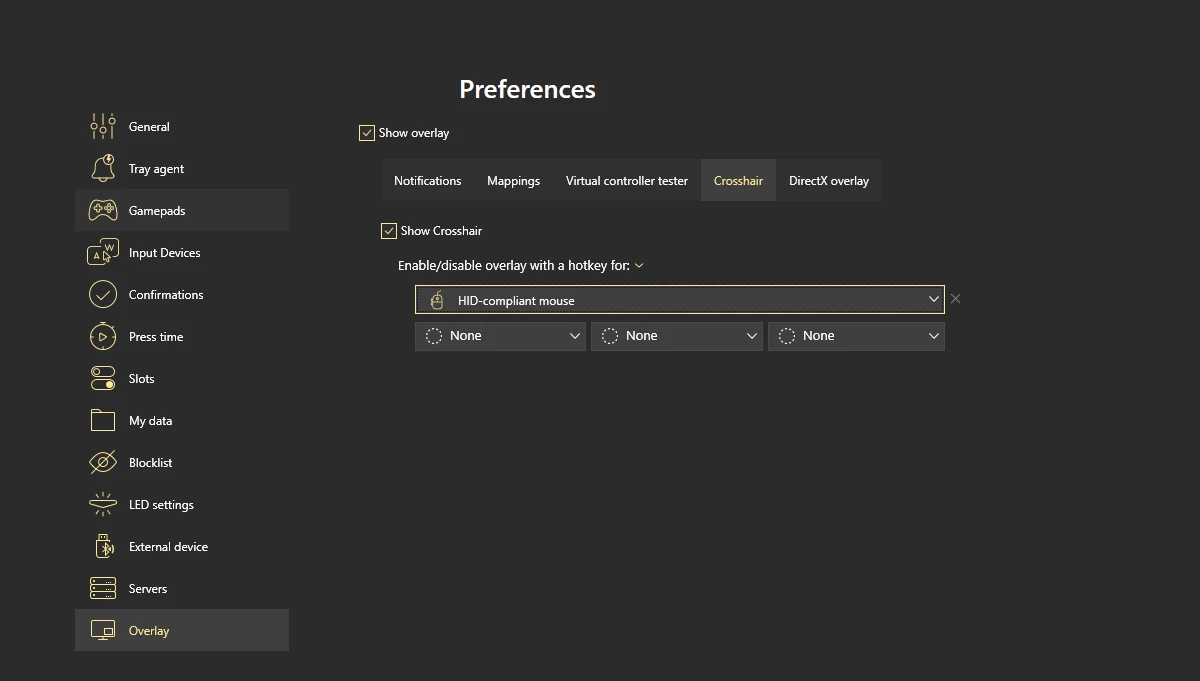
Open the Preferences menu and navigate to the Overlay tab.
-
Enable Overlay:
- Check the Show Overlay option to activate overlay features.
- Ensure the Show Crosshair option is enabled.
4. Assign Default Crosshairs:
- Use the dropdown menus to assign default crosshairs to specific devices.
- We suggest to use a combination of hotkeys to avoid mapping conflicts. You can enable or disable the crosshair overlay with a hotkey for each device.
5. Save and Apply:
Once the defaults are set, the crosshair will automatically appear when the corresponding configuration is applied to the selected device.
How to Configure the Magnifier
The Magnifier is an optional extension to Custom Crosshair that zooms in on the area around your crosshair, helping you aim more precisely — especially at distant targets. You can use the Magnifier alongside your crosshair, or on its own, without showing any crosshair at all.
To set it up:
-
Go to the Magnifier settings tab.
-
Toggle Use magnifier to enable the zoom feature.
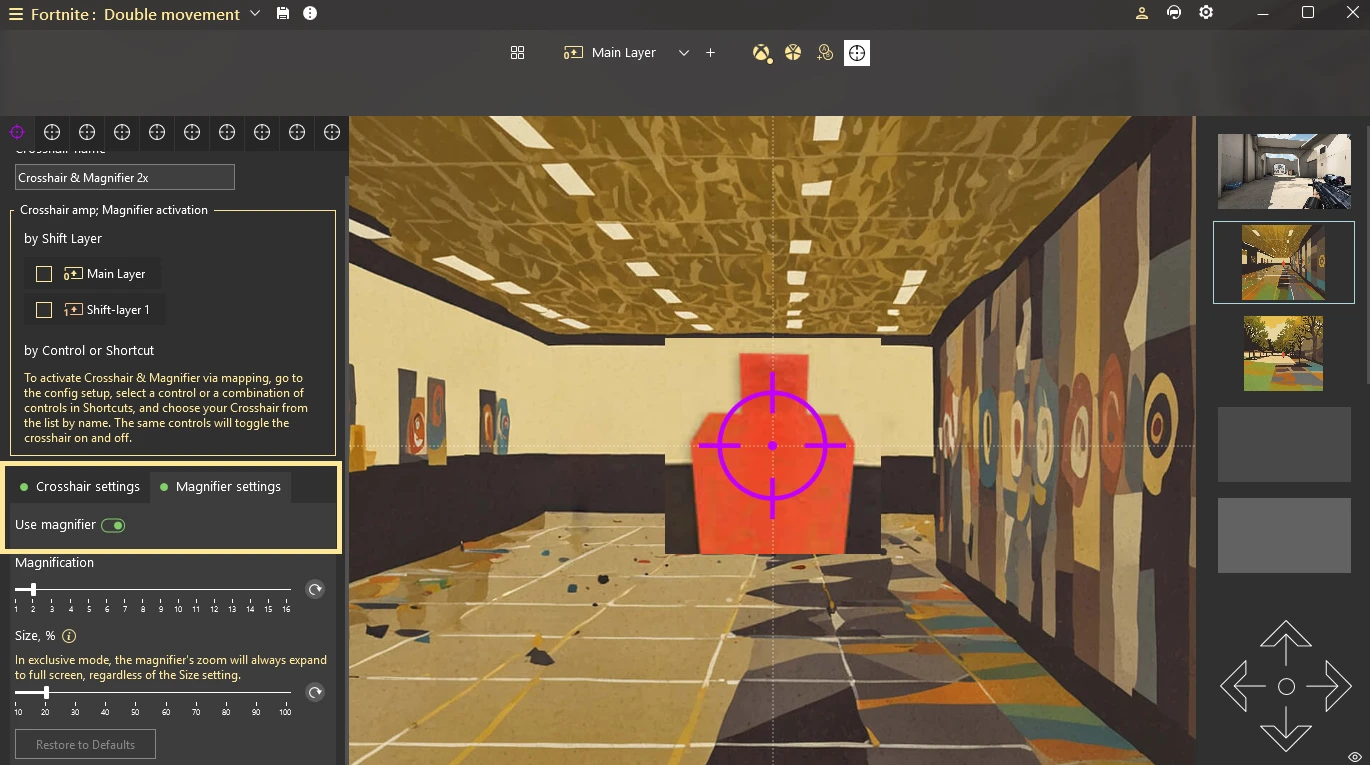
Available options:
-
Magnification — Controls the zoom level. Use the slider to set how strongly the area is enlarged (from 1x to 16x).
-
Size, % — Defines the size of the magnified area as a percentage of your screen. The zoomed zone appears as a circular overlay centered on your crosshair.
In Exclusive (Fullscreen) mode, the magnifier will always expand to full screen, regardless of the Size setting. To use custom size, make sure your game runs in Borderless Windowed mode.
You can freely mix and match both features: activate only the crosshair, only the magnifier, or both — depending on your playstyle and the game you're playing.
The Magnifier works with all device types and is especially effective in shooter games, helping you land precise shots from any distance.